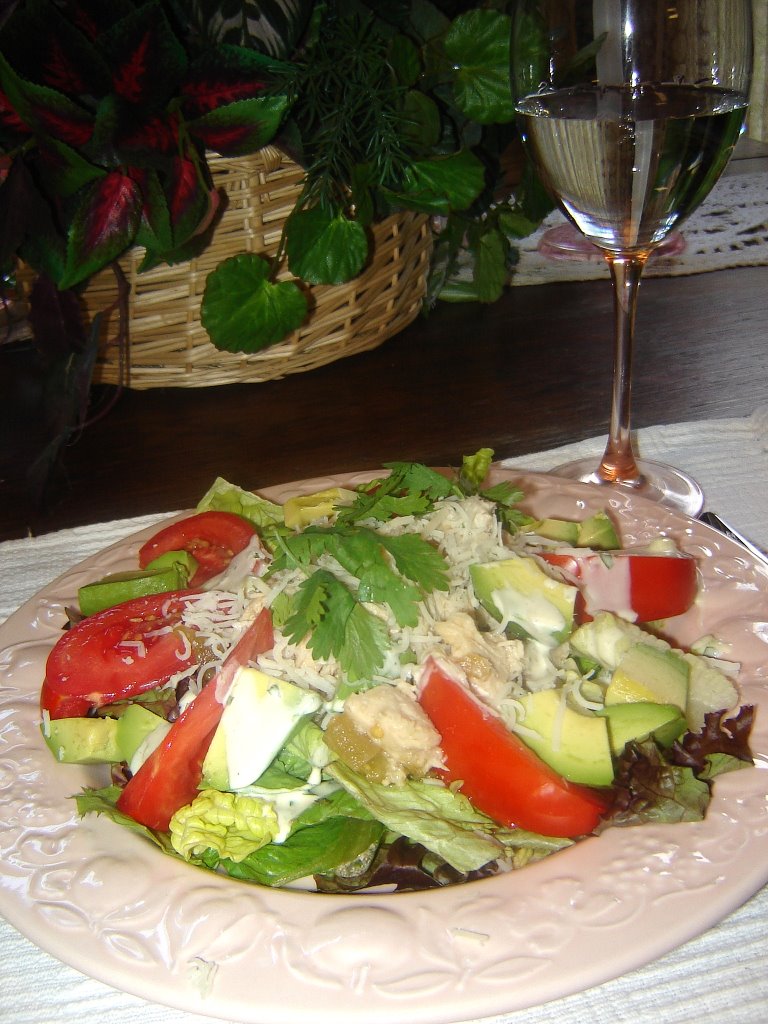
As I promised, I am attempting to address some of the e-mails sent to me with suggestions and requests for recipes.
One Loyal Reader asked about beef short ribs. They are quite the thing now, and you can get them in the very finest restaurants at a price that might belie their reasonable cost. What makes them more costly in a restaurant situation is the loving care that they need. The Loyal Reader had been to a small place in the southwest and gave me only a few hints about the dish he had enjoyed so much.
One of the things he said was that it had "mild heat" and a "sort of smoky flavor." That said "chipotle pepper" to me--that’s a jalapeño pepper, dried, then smoked. It is available either in bags, dried, or in cans with adobo, a sort of spicy tomato sauce. It gives food a nice zing, but is not tongue-burning, head-sweating hot.
And now to a confession: I had never cooked short ribs. So I took myself off to Charlie’s Meat Market and chatted with my butcher friend Chuck. He suggested that I use ribs cut across the bone, in 1" to 1-1/2" width. I took them home and proceeded to put together a spice mixture that I thought might go with the chipotle flavor. I rubbed it all over the ribs and put them in the fridge. At the grocery store, what did I find but Chipotle Tobasco Sauce. Well, I needed to try that, didn’t I?
I wasn’t happy with the first try. To begin with, I thought I wanted longer bones in the ribs, so they didn’t fall apart in the cooking process. And then, I thought the spice mixture was not as lively as I might have liked.
So back to Chuck I went, and had the ribs cut crosswise into wider 2" strips. I added layers of flavor to the spice rub, and picked up the taste a lot with lime juice and zest.
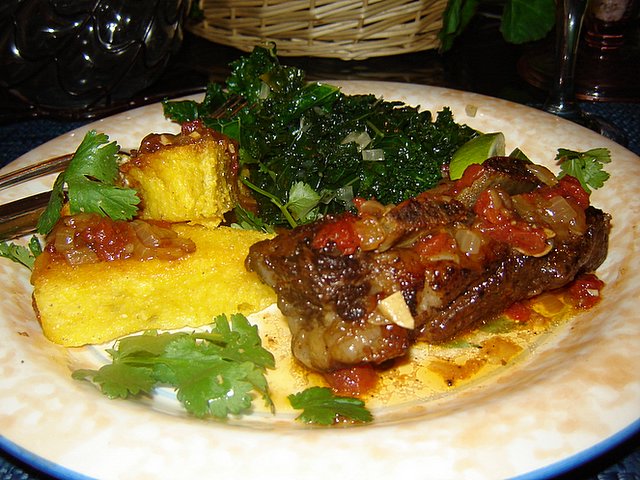
To go with the ribs and their savory juices, I cooked up some Delta Grind stoneground grits, adding shredded cheddar cheese and a small can of chopped green chiles. Then I poured them into a loaf pan and let them chill. Sliced, brushed with some of the fat from the ribs and run under a hot broiler, they made an excellent complement. For a green veggie, I sautéed a handful of minced onion in a film of the fat from the ribs, added a bit of chicken stock and steamed kale in it. I love kale.
I don’t know if this is exactly what my Loyal Reader had in mind, but I sure did like it! The one thing I would counsel: if you have time, rub down the ribs a day ahead of cooking, and cook a day ahead of eating. The ribs must be slow-braised for the best flavor and texture, but they give off a lot of fat. If you can chill them overnight after fully cooking them, you can scrape off almost all the fat.
Otherwise, before serving, pour off the cooking juices into a measuring cup and skim off as much fat as you can with a ladle. You can do what you want with the fat, but I can tell you that it makes a mean fried egg for breakfast the next morning as you are cleaning up the last of the dishes!
Any leftover beef can be taken off the ribs, mixed with the cooking juices and used as a pasta or rice sauce. I had some left, but not enough for another meal. I put them in the freezer and used them later to stuff wonton wrappers, ravioli style. Cooked and tossed with olive oil and grated Pecarino Romano cheese, they were quite tasty.
Because I thought they were so good, I made another batch for a different batch of friends. I had about one generous serving left over. I simmered it in more stock, added another can of tomatoes and made a good soup. I served it with a yellow rice pilaf timbale in the center of the bowl. Also YUMMY!
SOUTHWEST BEEF SHORT RIBS
The rub:
1 tsp kosher salt
1 tsp black pepper, preferably freshly ground
1 tsp ground cumin
1 tsp ground coriander seed
1 tsp ground cardamom
? tsp ground ginger
The beef:
6 lbs beef short ribs
1 large onion, peeled and chopped
6 large cloves garlic, minced
2 cups chicken stock
1 can diced tomatoes, undrained
Juice and zest of two large limes
2 tbsp (or more to taste) Chipotle Tobasco Sauce
1 lime, cut into thin wedges, for garnish
1 bunch cilantro, leaves only, coarsely chopped, for garnish
Mix the rub ingredients in a small bowl. Sprinkle generously on all sides of the short ribs and massage it in gently. Set aside at room temperature for a couple of hours, or refrigerate overnight.
Preheat the oven to 350F. Cut the rib strips into two long pieces. Heat the oil in a large heavy skillet over medium-high heat. Add the ribs in batches, without crowding, and brown well on all sides. As they brown, transfer them, meaty side down, to a baking dish with a lid that will hold all the ribs in one layer.
Reduce the heat to medium-low. Add the garlic and stir a couple of times. Add the onion, cover and cook until the onion is soft and golden, stirring occasionally. Add the broth and bring to a boil, stirring with a wooden spoon to scrape up any browned bits. Add the tomatoes with their juice, the lime juice and zest and the Chipotle Tobasco Sauce. Bring to a boil and pour over the ribs. Cover and bake until the ribs are tender, about two hours.
Remove the lid of the baking dish and with tongs, turn the meaty side up. Continue to bake until the ribs are fork-tender, another half-hour or so. Remove the ribs to a serving platter and drizzle with some of the cooking juices. Arrange the lime wedges around the edge of the platter and sprinkle generously with chopped cilantro. Pass the remaining gravy at the table. Serves 6 to 8.
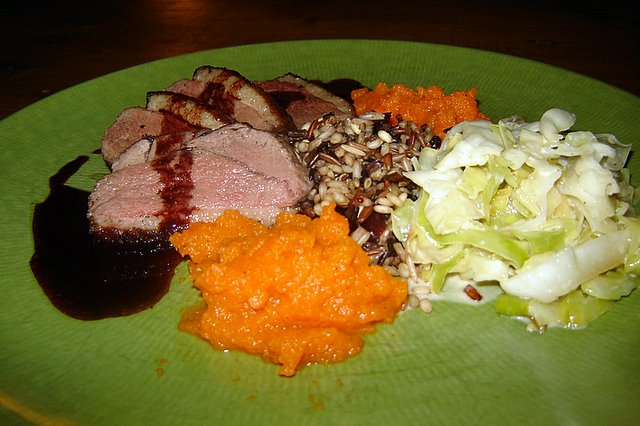
 A few weeks ago, a friend called. We don't get together as much as we might like, so we just planned on cooking together at her house. I showed up with nothing exactly in mind, with some salad makings, and some fruit. She had beautiful lamb chops. We raided her fridge for the currant preserves. I'm not sure exactly how the following sauce evolved that evening, but here's what I do know: it would be perfect with your holiday dinners. And it's so easy!


 Antipasto de Capesante
 Italian cheese flight
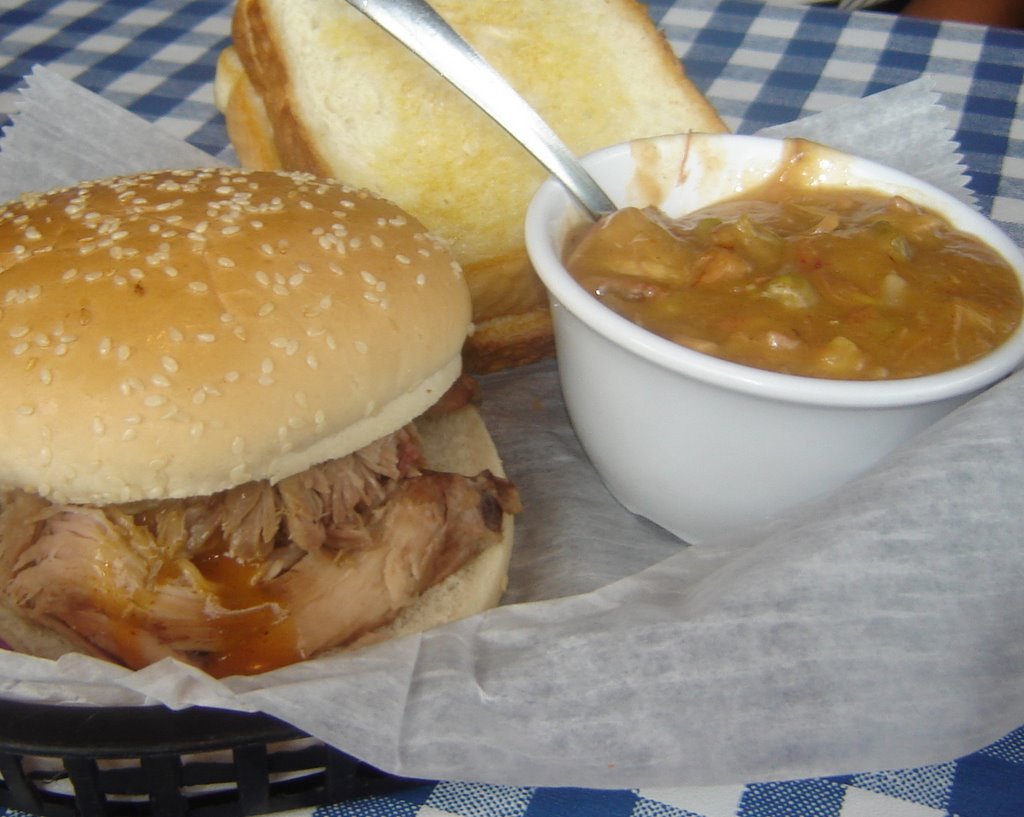 Pork Sandwich with Burgoo
 Pork Sandwich with Deep-Fried Corn